Looking back, I’ve always had a passion for surrounding myself with things that spark inspiration. Whether it’s quotes, photos, or small mementos, these items remind me of who I am, what my dreams are, and where I can go in life
Ever since I was a kid in elementary school, my room was completely pink (looking back, it was way too pink! 😅 but at the time, I absolutely loved it). I had a shelf right above my bed where I’d place things that were purely for decoration and inspiration. Next to my bed was a little phone—yes, an actual landline phone (this was around 2002, by the way)—that my dad bought me on one of his trips abroad. It was a tiny, pink phone with little number buttons, and it made me feel like it was straight out of one of my favorite Disney movies. 😋
In general, my notebooks were always filled with pictures, stickers, drawings, and anything that filled me with good inspiration.
So, even though I’ve always loved surrounding myself with inspiration from things I love, want, and that make me feel good.But honestly, it was only a few years ago, when I started studying NLP and psychotherapy, that I truly realized, I truly understood the meaning of visual inspiration and its impact on shaping our reality.
And that’s exactly why I created this post, so that every woman reading it can create and prepare her own vision board.
Wait, just a moment before we move on to how you can create your own inspiration board just like I made for myself. 😍
I want to share something from the heart: from the board I had last year, I removed quite a few pictures of things I managed to achieve this year. And there are things that only after I achieved them did I suddenly realize how similar they were to the inspirations on my vision board. 🤍
Visual inspiration that stands before our eyes every day has a tremendous impact on our subconscious!
Alright, let’s get down to business—everything you need to create your dream vision board! 🤩
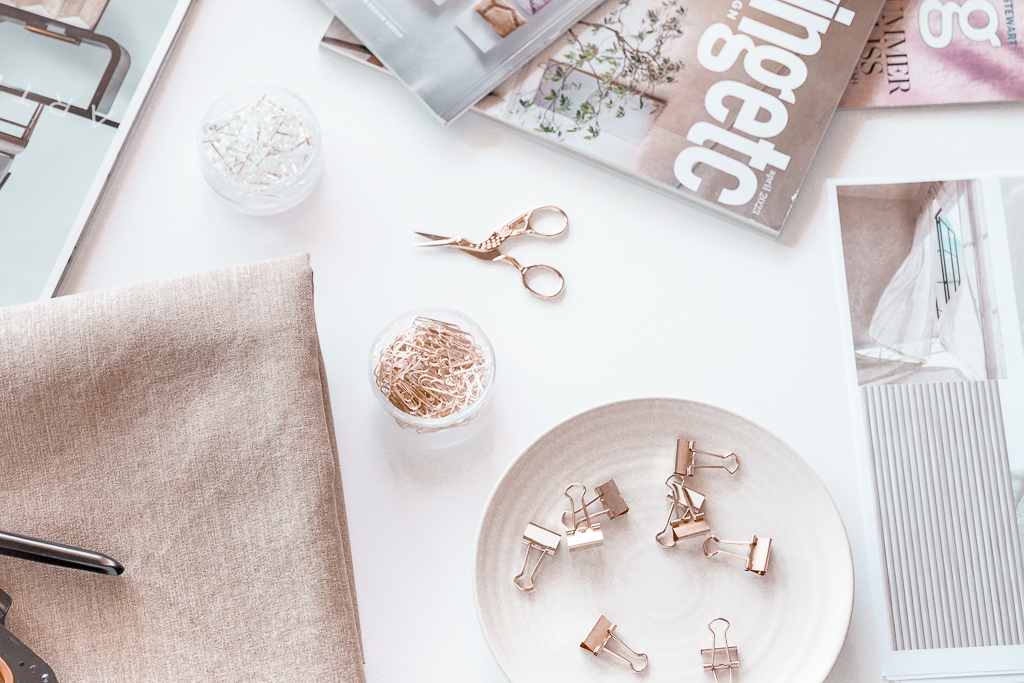
Step One: I like to start by searching for inspirational images. Create a folder on your phone for your inspiration board and begin filling it with pictures. This can be from Pinterest, Canva, free image download sites, etc. (Later, you can sort your favorites, place everything in A4 pages in Canva or any other editing software, and print it out!) Additionally, gather physical images in various sizes, such as beautiful postcards, magazine cutouts, and anything else that comes to mind. (You can also include small fabric pieces or more tangible items that you can hang up.)
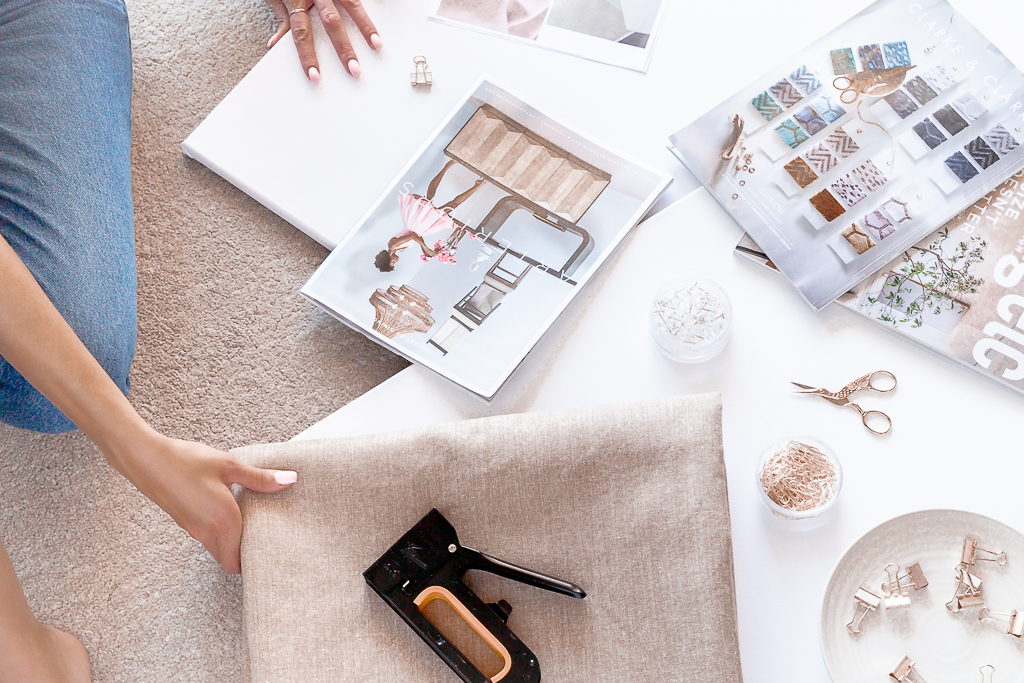
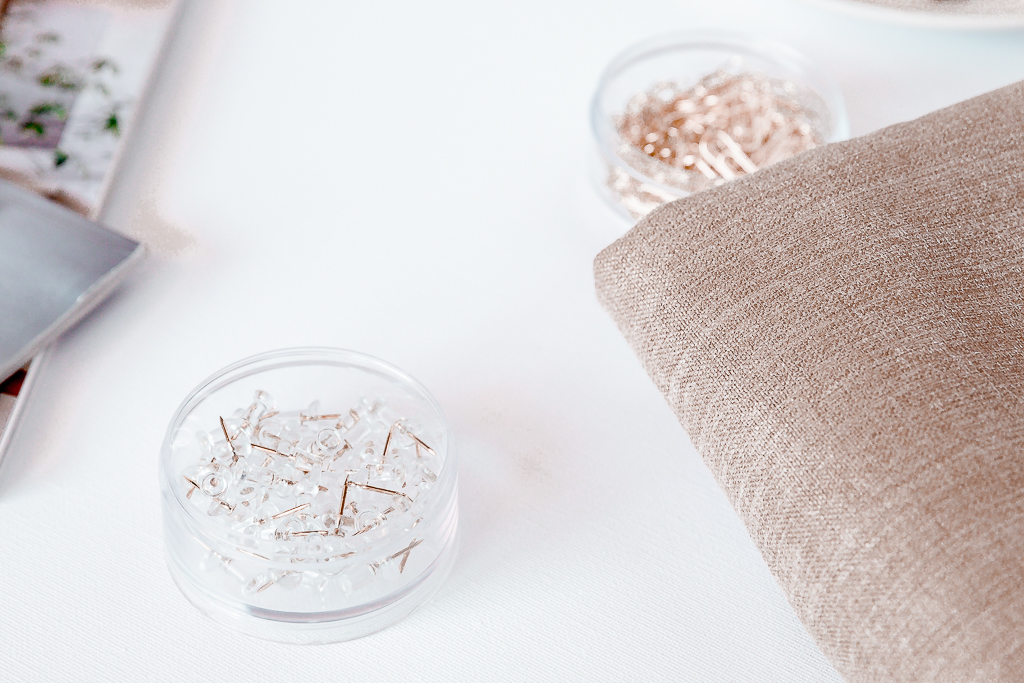
Step Two: Shop and collect the materials for your board. You don’t have to buy everything; you can always borrow a stapler from a neighbor or take one from your sister. 🙂 As for what you do need, just go on a shopping spree! Canvas, push pins, and paper glue can usually be found at any craft store. And for the fabric, be sure to buy it from an upholstery shop or a fabric store that sells upholstery fabric.
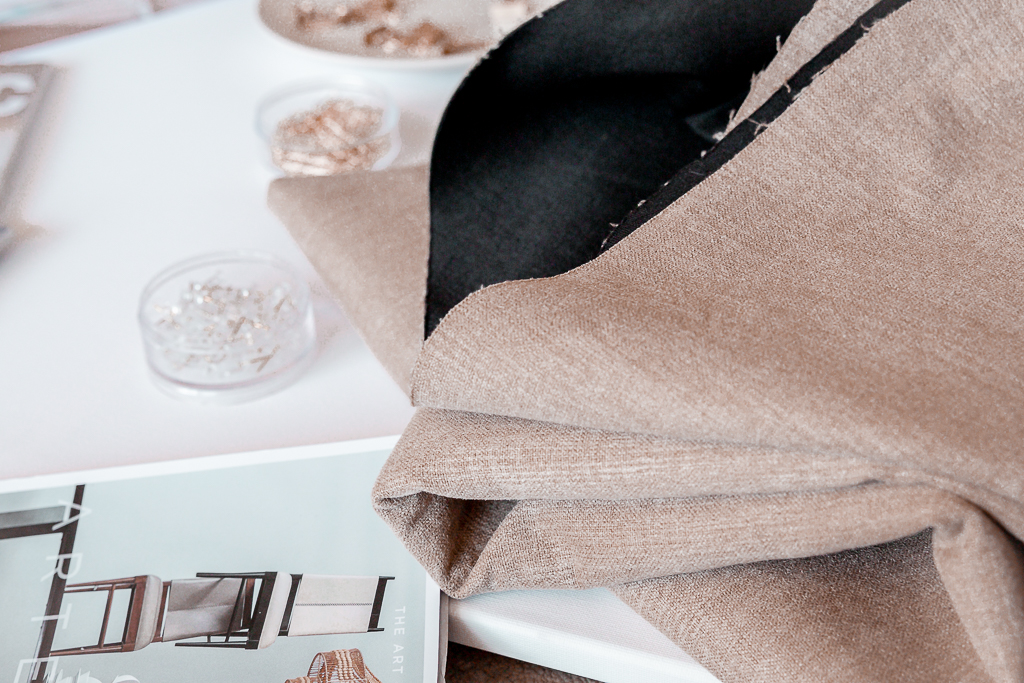
Wrap your canvas board with the fabric. Make sure to pull it tight and smooth, then secure the fabric at the back with your stapler.
Hang the board on the wall where you want it to shine. ✨
Cut out all your images.
And now comes the fun part 🤩 — designing your inspo board! Of course, I’ve got to throw in a few little design tips 👇🏻
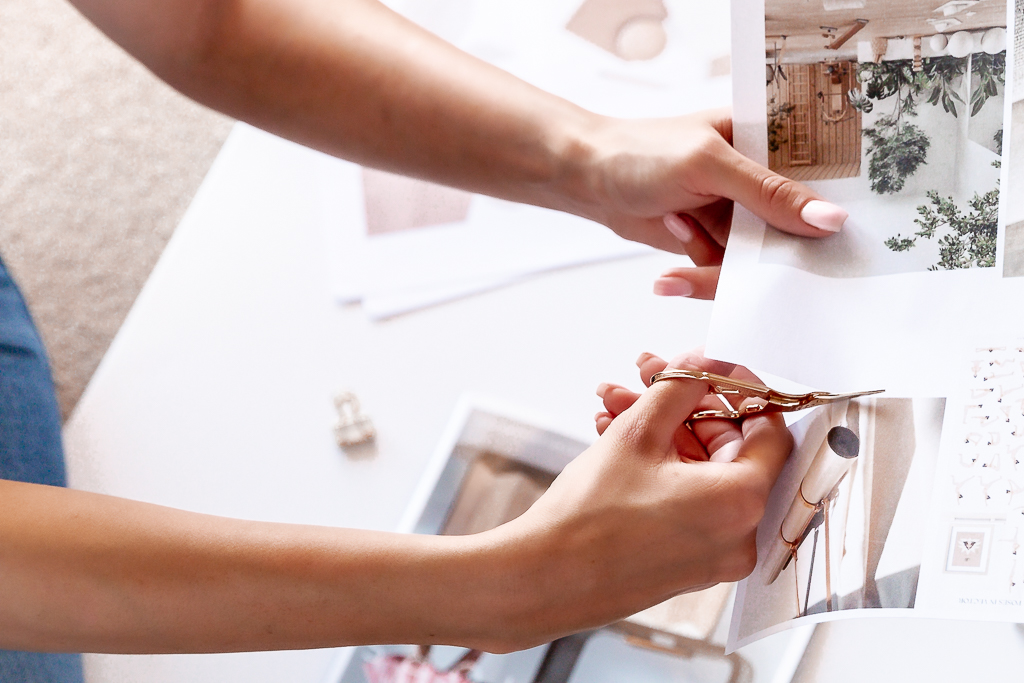
To create an interesting and visually appealing board, I recommend incorporating intriguing asymmetry and layering.
I like to call it “calculated chaos” 😃
Start with the largest images/postcards/pages you have, and pin those down first as the background.
In the second stage, play around with the different images you’ve collected in various sizes. Position them among the larger images you’ve already pinned, and some can overlap a bit with the ones underneath.
In the final design stage, add inspirational quotes or tiny images to create connections between the photos and the layers below.
And to wrap it up: after you’ve pinned everything in place, I suggest reinforcing certain spots on the board with small pieces of paper glue. Cut a small piece of tape, roll it into a ring with the sticky side facing out, and use this to secure the photo, you want it to stick.
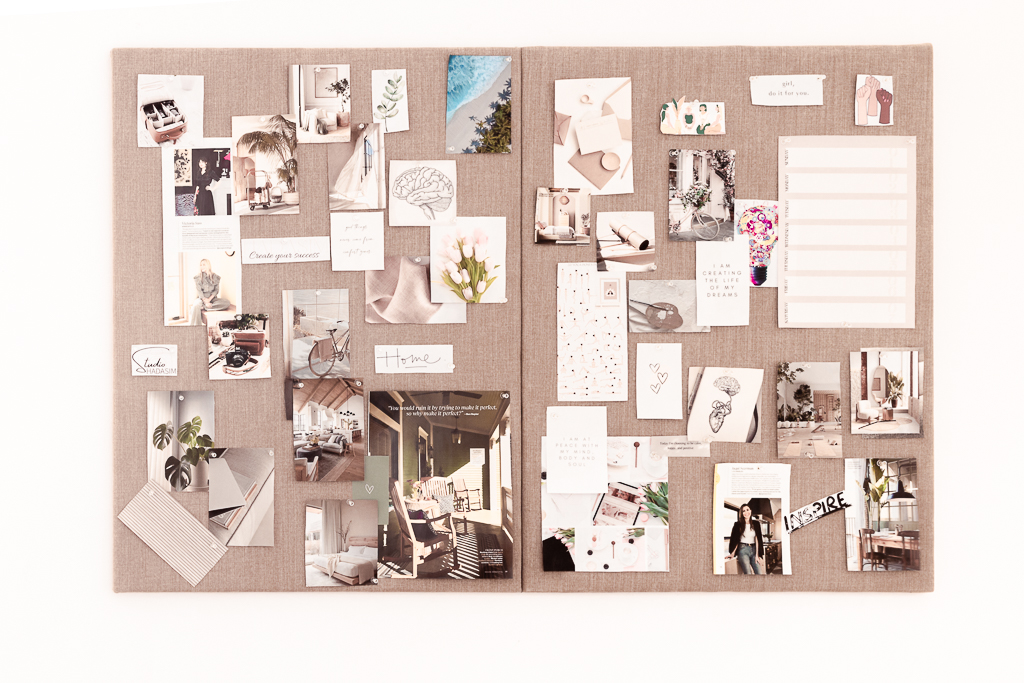
Good luck 😍 and have fun!
I’m really curious to see how your board turns out ☺️
Share it with me here in the comments below.
Hi, my name is Hadassa Shitrit.
I am a mental coach for women and business owners who want to develop, achieve success, and create their dream lives.
I am a blogger and content creator focused on personal development, consciousness, business and entrepreneurship, and lifestyle.
I own the brand HADASIM, and I host the podcast ‘It Speaks to Me.’
In recent years, I have been leading dozens of women and business owners to their personal and business success and fulfillment, combining consciousness with practical and technical tools.
Thanks to the long journey I undertook to fulfill myself and my dream, realize my abilities, and build my business from scratch, I am here to help you realize your unique abilities and make your way towards achieving your dream and the life you wish for yourself.
Join my newsletter community now.
Receive updates on new blog posts,
new podcast episodes,
tips, activities, gifts, and more,
and unique content exclusive to Hadasim newsletter subscribers directly to your email.
You were born to grow, to flourish, and to succeed immensely.
It’s time for you to unleash your true potential and that of your business!
‘My Digital School’ was created last for you, to help you finally identify what truly holds you back and the tremendous success you know you can achieve!
You know you can do more, and you feel it’s time for you to move to the next level.
With conscious, practical work, and practical tools, you can finally reach the goals you so desire for yourself and your business, and create real and meaningful successes for yourself and your business.
For anyone who wants to enter the new year feeling ready and open to fulfilling herself and her dreams! To create clarity and order and to track her progress throughout the year…